
Zero to Hero: Getting Started with openUBMC
openUBMC is a leading, open-standard, and developer-friendly open source management software for computing devices. In this blog, we'll guide you step-by-step to get started with openUBMC from scratch.
Environment Setup on Ubuntu
The openUBMC official website offers several setup methods. We'll use the Ubuntu installation, which offers the highest level of flexibility. (For a faster start, see the Docker Developer Environment Setup.
1. Configuring Your GitCode Account
First, you need to configure access to the GitCode repository.
- Go to the (project's homepage)https://gitcode.com/openUBMC/manifest.
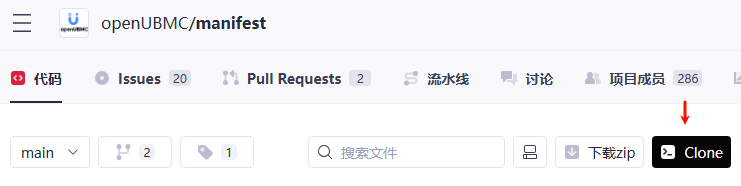
- Click
Clone. A dialog will show you how to configure your GitCode account and clone the repository.
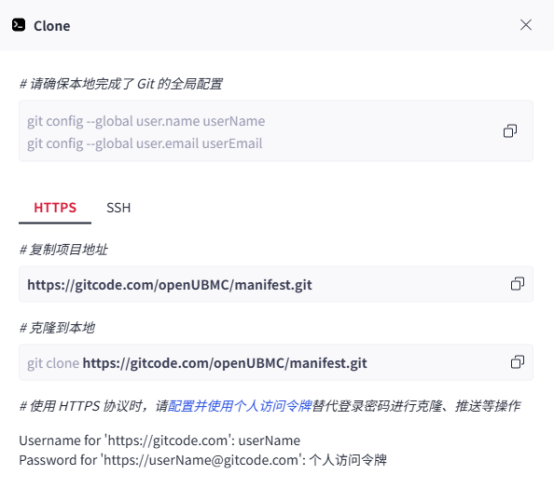
- Execute the recommended
git configcommands in your Ubuntu terminal.

- Set up your SSH public key by following steps 2 and 3 as prompted by GitCode.
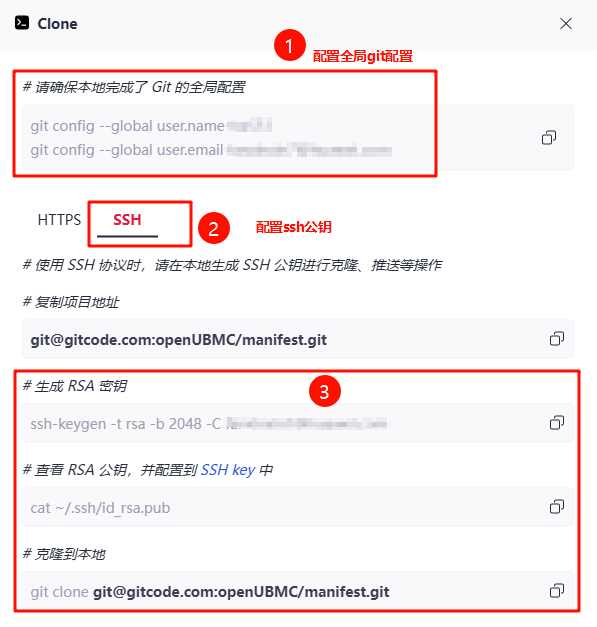
Note: We recommend using SSH instead of HTTPS for downloading. This avoids complex HTTPS token configuration. Execute this command:
git config --global url."git@gitcode.com:".insteadof "https://gitcode.com/"
2. Downloading the Manifest Repository
The manifest repository is your key to setting up the openUBMC environment automatically.
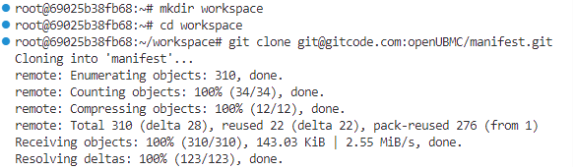
- Create a workspace and clone the repository:
mkdir workspace
cd workspace
git clone git@gitcode.com:openUBMC/manifest.git
- Before initialization, download
bmc_sdk.zipfrom the openUBMC community software application center and place it inside your cloned manifest directory. - Execute the environment initialization script:
cd manifest
python3 init.py -path ./bmc_sdk.zip
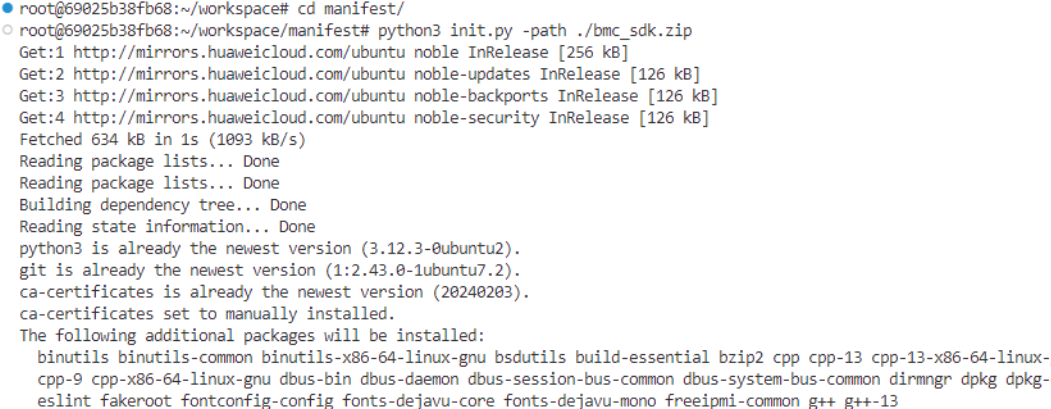
The init.py script performs a comprehensive setup, including:
- Setting environment proxies.
- Acquiring sudo permissions.
- Configuring Ubuntu package mirrors (using Huawei mirror sites).
- Installing necessary Ubuntu packages (such as python3, gcc, and dbus).
- Installing the openUBMC developer suite (including RTOS build tools, SDK, and lua-format).
- Installing Node and npm.
- Installing the openUBMC build tool, bingo.
- Configuring Conan remote repositories.
- Installing QEMU development and runtime dependencies.
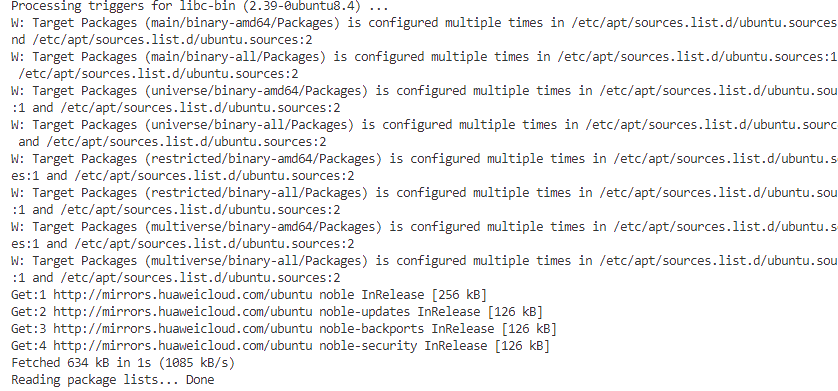
The successful completion is marked by the final output printout. You have now completed your development environment setup!
3. Configuring Your Conan User
The openUBMC documentation requires you to configure the Conan user with your openUBMC community username.

Execute the necessary configuration command. You will see a success message upon completion.

Verify the configuration using the conan search command.

Note: To find your openUBMC community username, log in to the openUBMC official website and look for the name displayed in the upper right corner.
Start Your openUBMC Journey
Now that the environment is rea dy, let's explore building and running openUBMC.
1. Building the openUBMC Firmware Update Package
The manifest repository can also perform an automated full-package build using the openUBMC-provided bingo tool.
From the manifest directory, run:
bingo build

The output shows the build has started. The build process typically takes about 4 to 6 minutes (depending on your host CPU).
The final firmware update package (.hpm file) will be located at manifest/output/rootfs_openUBMC.hpm. This package is used to update the BMC firmware on a server.
2. Starting openUBMC Simulation (QEMU)
Hardware debugging resources are often scarce. openUBMC provides a QEMU-based simulation for easier development.
- Build the QEMU simulation firmware package:
bingo build -sc qemu
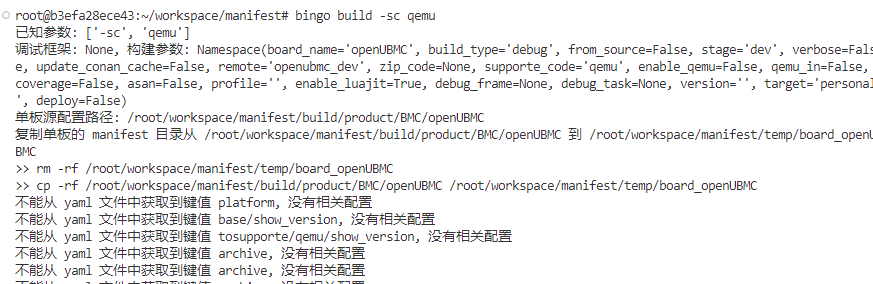
Once the personal task is reported successful, the simulation firmware package is complete.
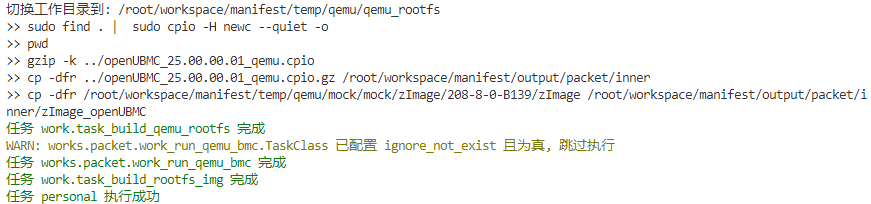
- Find
openUBMC_25.00.00.01_qemu.cpio.gzin themanifest/output/packet/innerdirectory.
- Start the openUBMC simulation environment with a single command:
python3 build/works/packet/qemu_shells/vemake_1711.py
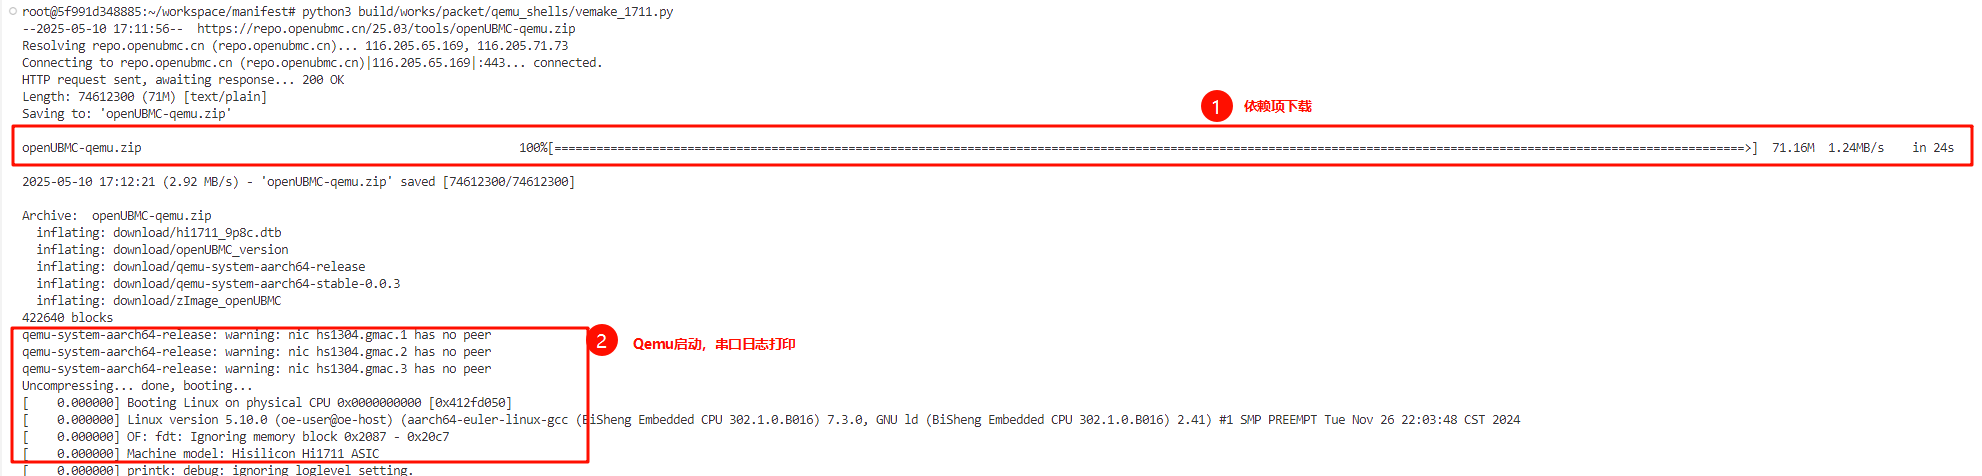
- Wait 5 to 10 minutes (depending on your host performance). The simulated openUBMC environment will be ready!
Interacting with openUBMC
Once the simulation starts, you can interact with openUBMC via its interfaces.
WebUI: Access openUBMC through its WebUI. Log in with the username and password and explore the various features available.
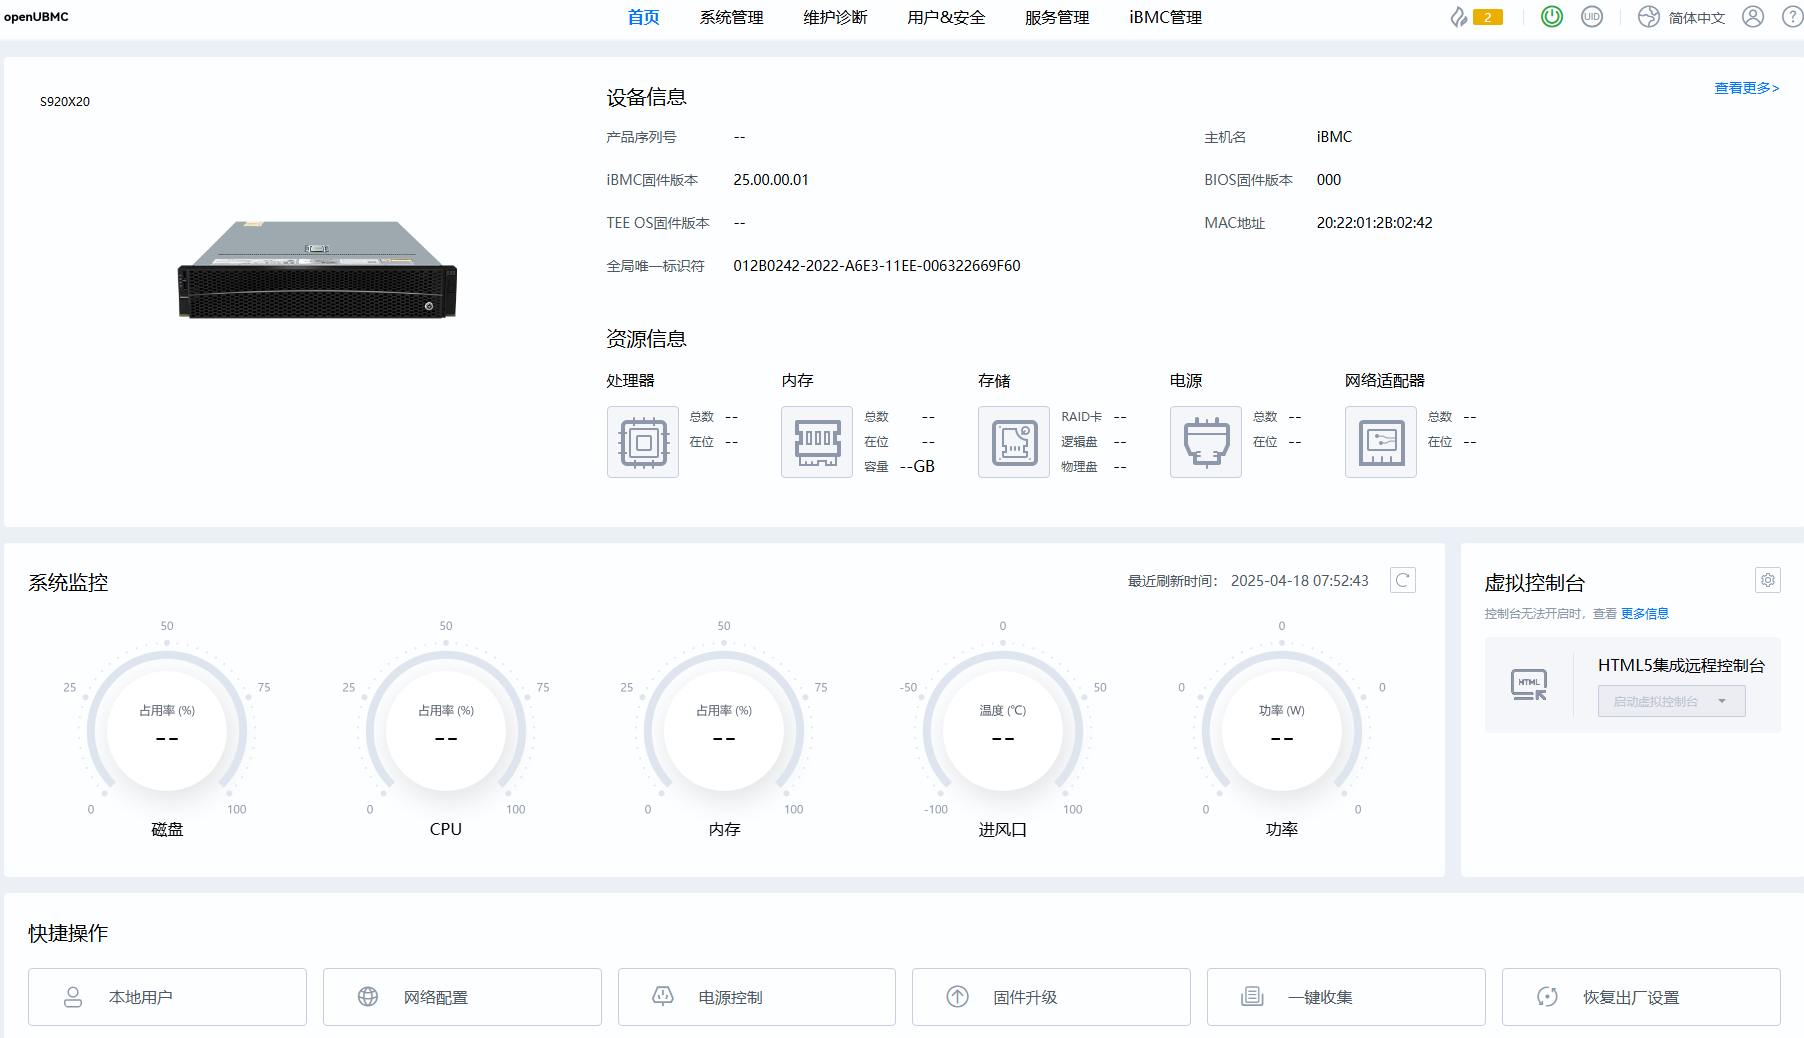
SSH CLI: Connect to the CLI via SSH:
ssh Administrator@<your ip>:10022
Enter the password to access the CLI and start executing commands.
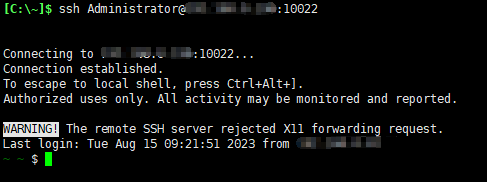
You are now set up to develop and test with openUBMC!
Reference
[Copyright] Copyright © 2026 openUBMC Community. This article was first published by the openUBMC Community. Reproduction is welcomed under CC-BY-SA 4.0. When reproducing, please prominently note the source in the text and retain the original article link and author information.
[Disclaimer] The views expressed in this article are solely those of the author and do not represent the stance of this website. This website remains neutral regarding the statements and opinions presented and provides no express or implied warranty as to the accuracy, reliability, or completeness of the content. This article is intended for reference only, and all legal responsibilities arising therefrom shall be borne by the reader.